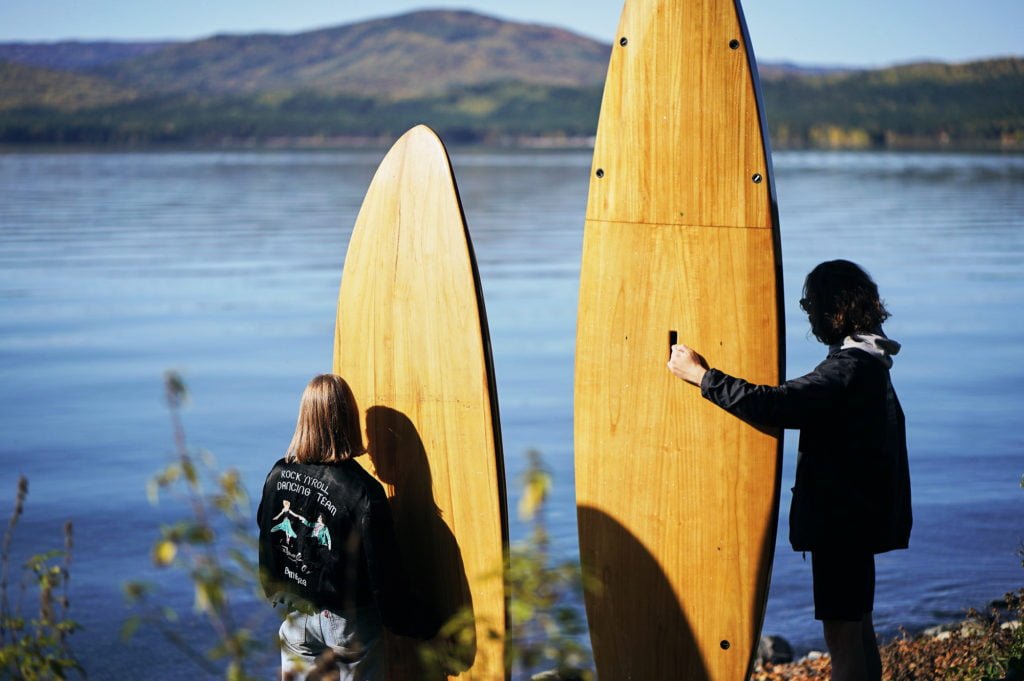
We all know that wood has always been used to build boats, therefore there’s not much new in the wooden paddleboard itself. However, it is modern materials and technologies that made today’s wooden boats and boards both lightweight and durable without losing the charm and warmth of natural materials.
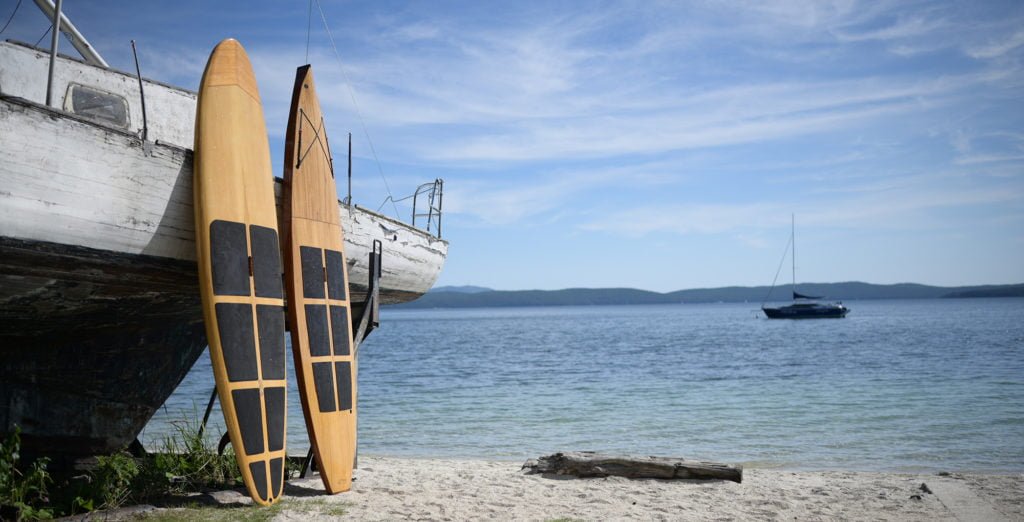
We’ll share with you the process and techniques of creating hollow wood paddle boards on this page.
Our boards are built using Paulownia wood. Paulownia is a very lightweight wood with even grain structure, which makes it applicable for bending and sanding. It glues well forming a strong and solid composite with fiberglass and epoxy.
The building starts with cutting the Paulownia board to 7,5-8mm thick panels, and then they are calibrated to 6mm on a thickness planer.
Then we choose which of these 6mm panels will be used for the top and bottom of the board. This mostly depends on the grain pattern: we pick ones with the most rich and colorful wood texture. All other panels are cut into 9-25mm strips with bead and cove sides to be used for building the rails of the board.
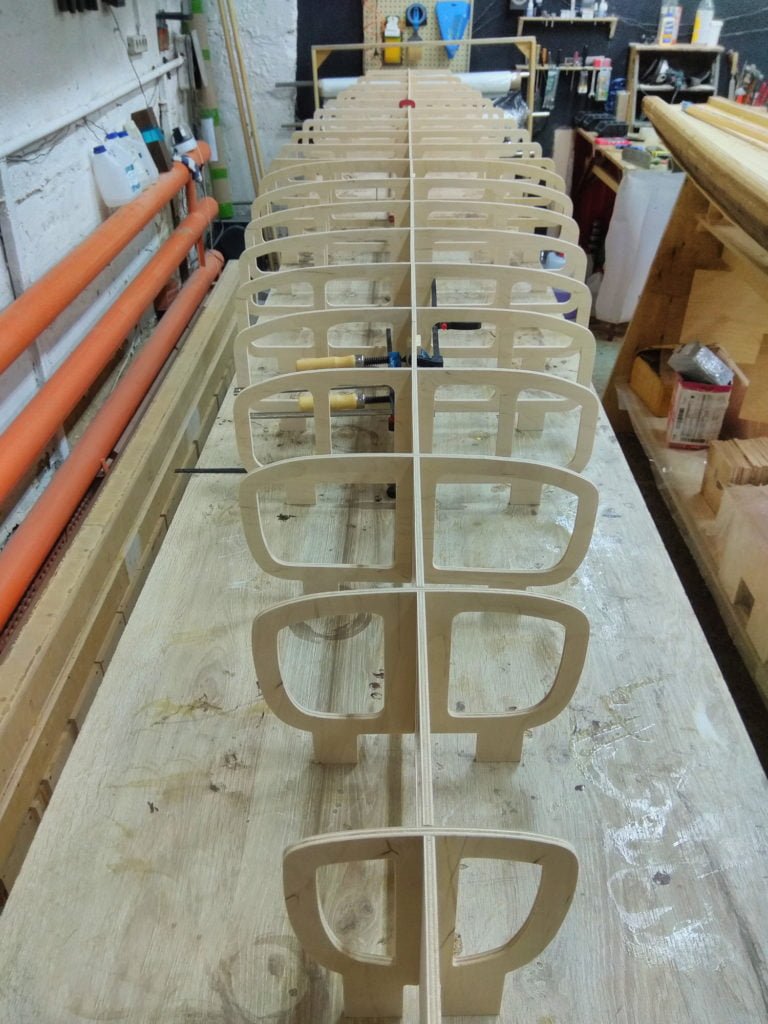
Next step is setting up the 6mm birch plywood CNC fishbone frame. There are two ways to install the frame and either of them requires some time and a lot of attention, because if some piece of the fishbone is set imprecisely we might end up with unwanted curves and asymmetry on the finished board.
There are two methods of setting up the fishbone frame. We use both of them depending on what board type we are building. First one is the classic rocker table that comes from surfboard building techniques. A ladder-style table repeats the bottom contour of the board, including the rocker and the cross section geometry at each rib. The bottom panel of the board is placed on the table and then the fishbone frame is glued to it. After the glue has dried, we already have the right geometry of the underside of the hull.
Second method is mostly used for flatwater designed paddleboards with less rocker. When using it, each piece of the frame is CNC cut with a kind of supporting legs. Length of these legs varies and depends on the needed curvature of the board. Simply, legs are shorter at the middle sections of the board and get longer moving towards the nose and the tail. This frame is attached to the plain and even table and the top side of the board is built first. After it’s ready and the hull gets stiff and solid, we cut the legs off and flip the board over to continue with the bottom.
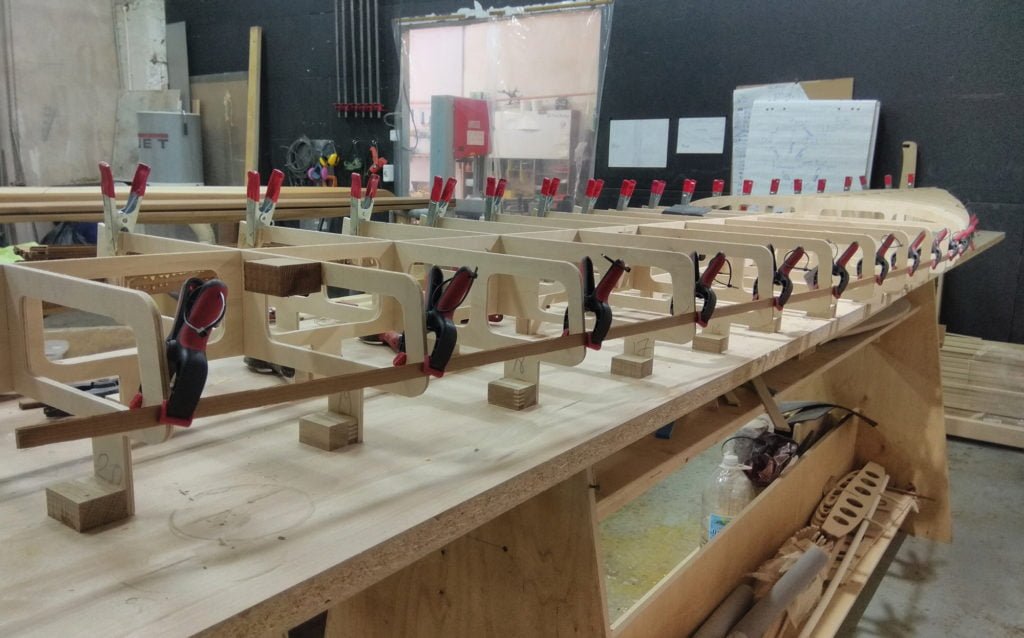
So, we’re done with the fishbone and ready to move to the assembly of the heart and soul of the board: the strip built hull, which gives so much charm and beauty to the wooden paddleboard and makes it all worth the time spent.
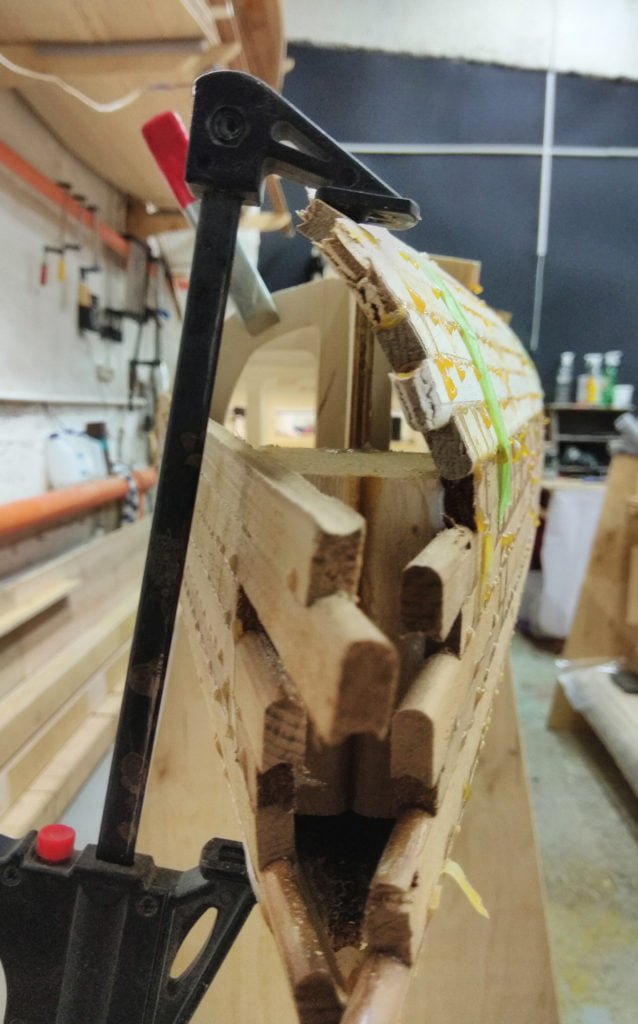
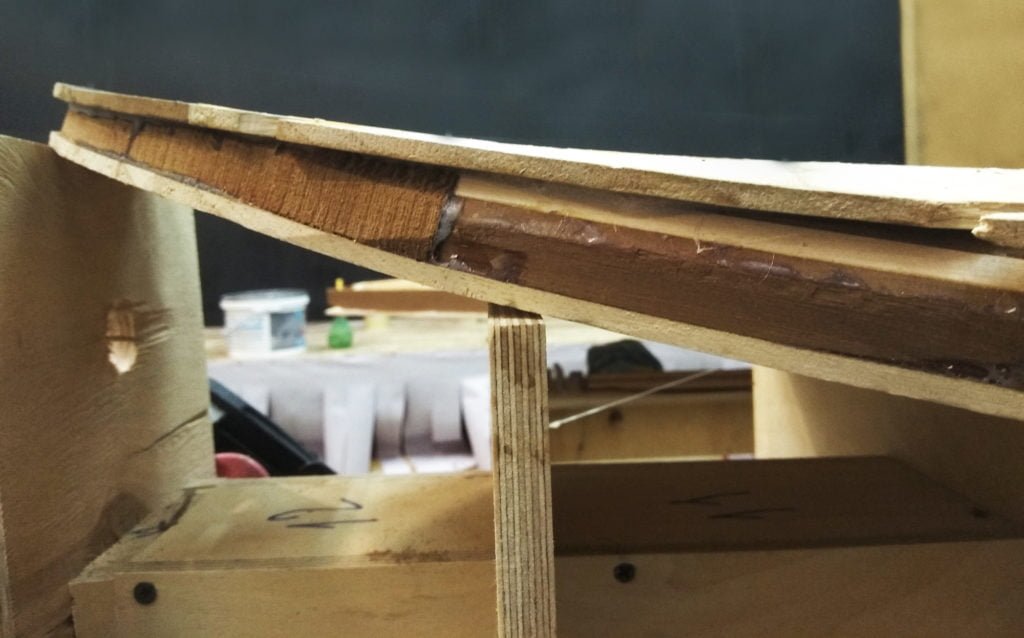
This process slightly varies from board to board but the main principle remains the same: flat surfaces can be glued with wide panels, but the more curvature we have (e.g. on the rails) the more narrow strips we use. It certainly takes a lot more time to glue strips one at a time, but narrow strips can be bent in all three directions, which means we can create boards with complicated geometry and smooth transitions from the rails to top and bottom sides.
Nose and tail are made of solid wood blocks to add some strength to the hull. These blocks are installed when all the stripping is done and we’ve completed top, bottom and rails
Now the wooden shell that we’ve assembled needs to be planed and sanded in order to get the final geometry of the paddleboard. At first, all the glue drips are scraped. Then, the hull is roughly planed to remove exceeding material from strips and blocking. After that, the board is shaped with coarse sandpaper. This stage is extremely important, because that’s when the board gets its final shape. We thoroughly check the hull for symmetry and make sure that every curve is made just as planned. Finally, when we’re satisfied with the contour of the hull, we’re moving to the final sanding prior to the epoxy coating.

The next big step is coating the hull with the epoxy resin, which can also be described in several stages. The first and one of the most complicated is the lamination coat. On the one hand, we need to keep fiberglass cloth saturated well to form a strong bond with the wooden hull, and, on the other hand, we need to remove the exceeding epoxy and don’t let the fiberglass “float” in it. It is important to keep the cloth even and transparent with a clearly visible structure of the weave. Aesthetic look of the fiberglass is also extremely important: there shouldn’t be any wrinkles, loose threads or hairy edges.

After the lamination coat has cured we do a series of the fill coats, normally there are 2-3 done at either side of the board. The main goals of these coats are filling the weave structure of the fiberglass and building enough thickness for further sanding.

Final sanding of the coated hull is done using only long hand sanding pads, because using a random orbital sander can do a bad trick here. At this stage we need to sand off all the bumps, drips, sags and low spots until the whole board looks evenly matte without any shining spots.
So, looks like we’re done? The paddleboard is completely functional now: it is smooth, stiff, watertight and nice, but there’s just a couple of final touches left.
First one is varnishing. We do 6-8 varnish coats on each side of the board. There are three reasons to do so: marine grade varnish gives the board excellent UV protection, it forms a strong elastic layer on the surface of the hull that protects wood and fiberglass from mechanical damage, and it gives the board deep and rich color and accentuates the natural wood texture.
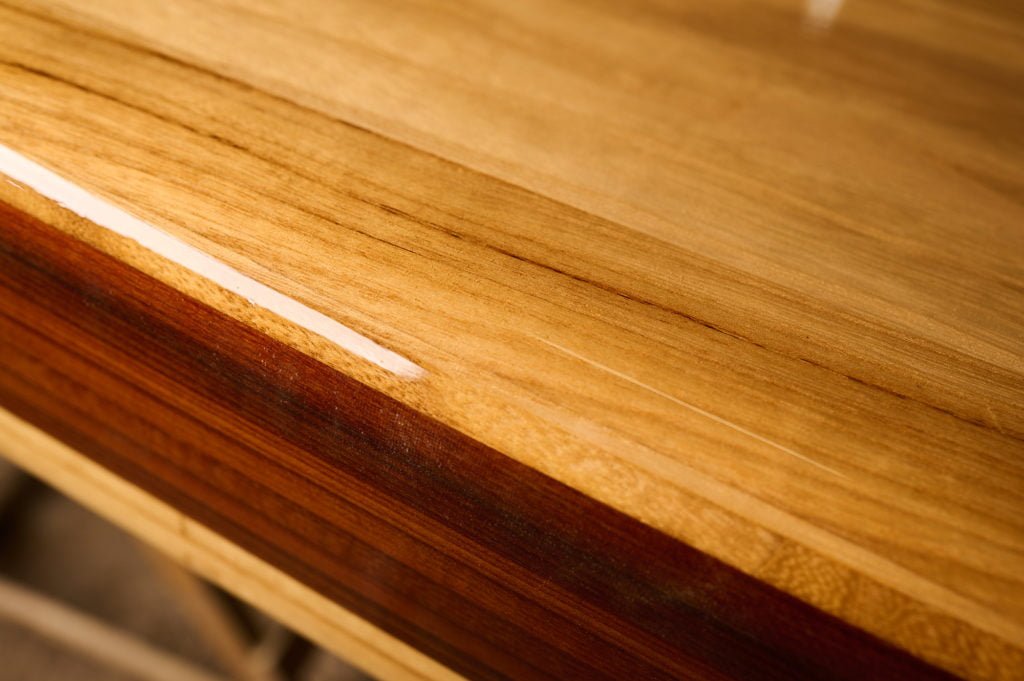
And, finally, polishing. A polishing pad removes all the tiny sags and scratches and gives us an absolutely transparent mirror-like surface, so we can enjoy the incredible look of the natural grain structure and warm rich color of a handmade hollow wood paddleboard.